Meeting Room
LiveSmart Server Video is a video chat between an organizer and one or more (theoretically unlimited number) attendees. The organizer role can be performed by tutor, doctor, support personnel, real estate agent, car reseller, registered user in a social media, etc
In order a call to be performed, both parties need to be online in one room. You can generate rooms for your customers in a couple of ways:
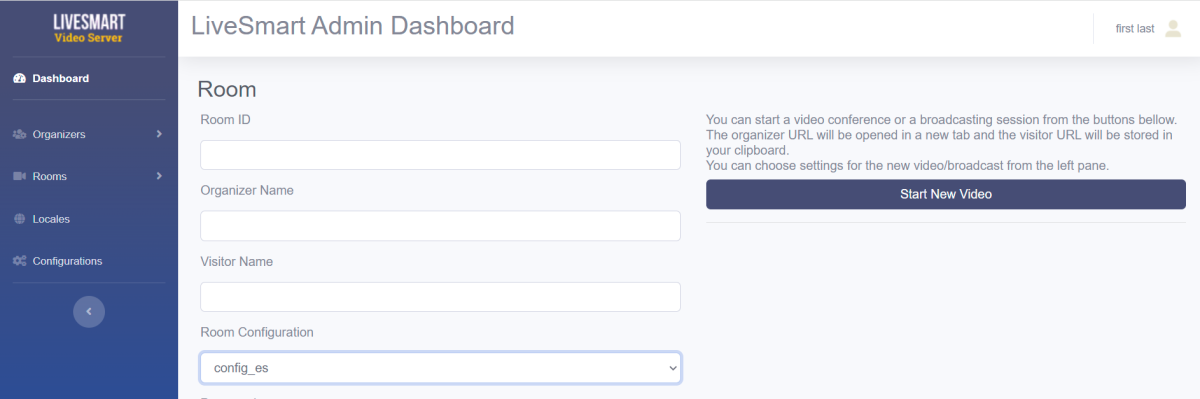
– Generate a room from the Dashboard page. You can add room ID, visitor name (if you are expecting someone to come), protect the room password if you want this room to be protected and organizer name;
– Make the link to be dynamically generated by your system;
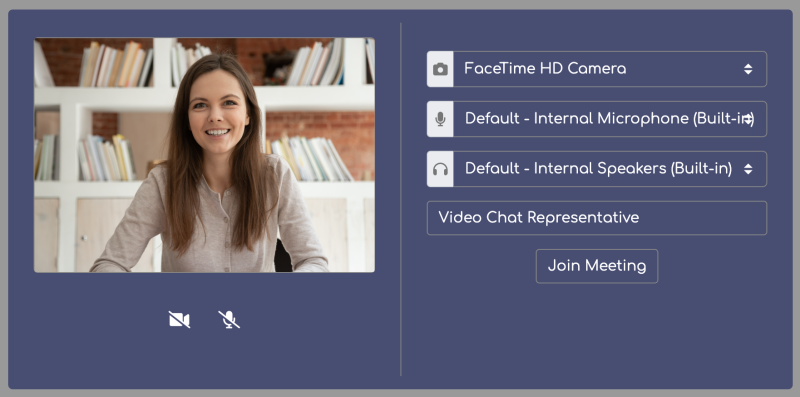
When you enter a meeting the first time and if attendee names are not defined, you will be prompted to provide a name. After that you need to grant permissions for camera and/or microphone.
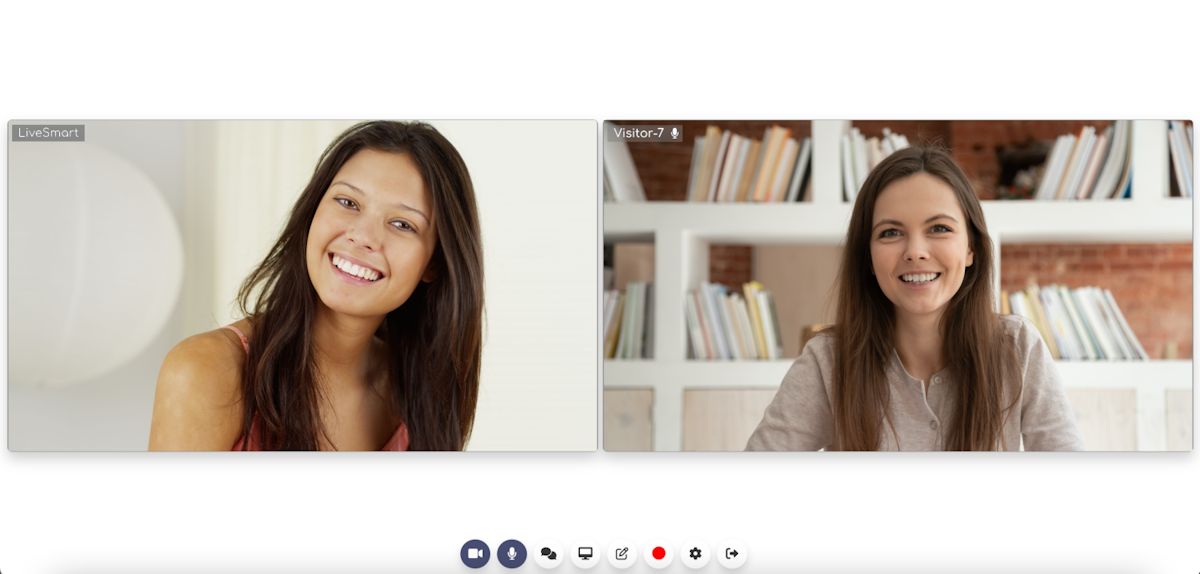
When the meeting starts attendees can chat, toggle video or audio, draw on the whiteboard, transfer a file, do a screen share or take a snapshot* of the other party video screen. Also the organizer can perform attendee management like mute, block, respond to raised hands.
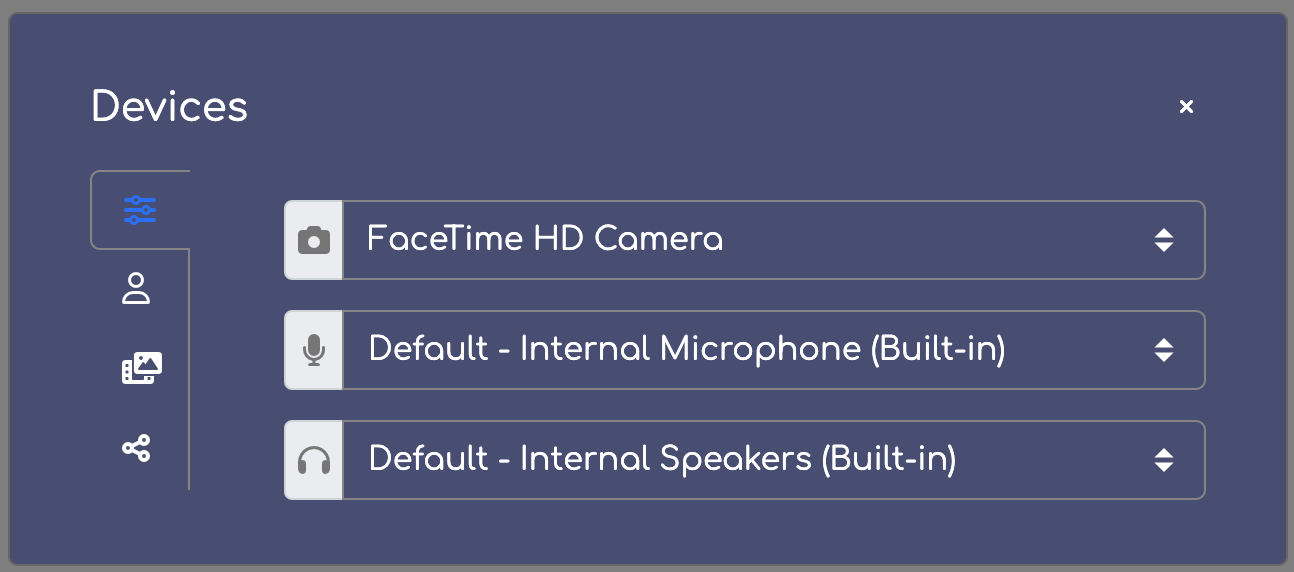
From the inline meeting settings an organizer can choose video/input and output devices. From the second tab, you can go full screen (the whole window), raise a hand, manage the participants and lock the room. Third tab is for recording. Here you can start/stop or pause a recording. Next is the option to start broadcasting a video from YouTube. Last one is a Share button, from where you can scan a QR code, copy the URL of the meeting or send it directly to an email.
From the inline video session window an organizer can mute an attendee. Also all the participants can take snapshots or go fullscreen.
Screen Sharing
You are able to share the whole screen, separate application or a browser tab if your browser is Chrome 72+, Firefox 52+ or MS Edge 17+.
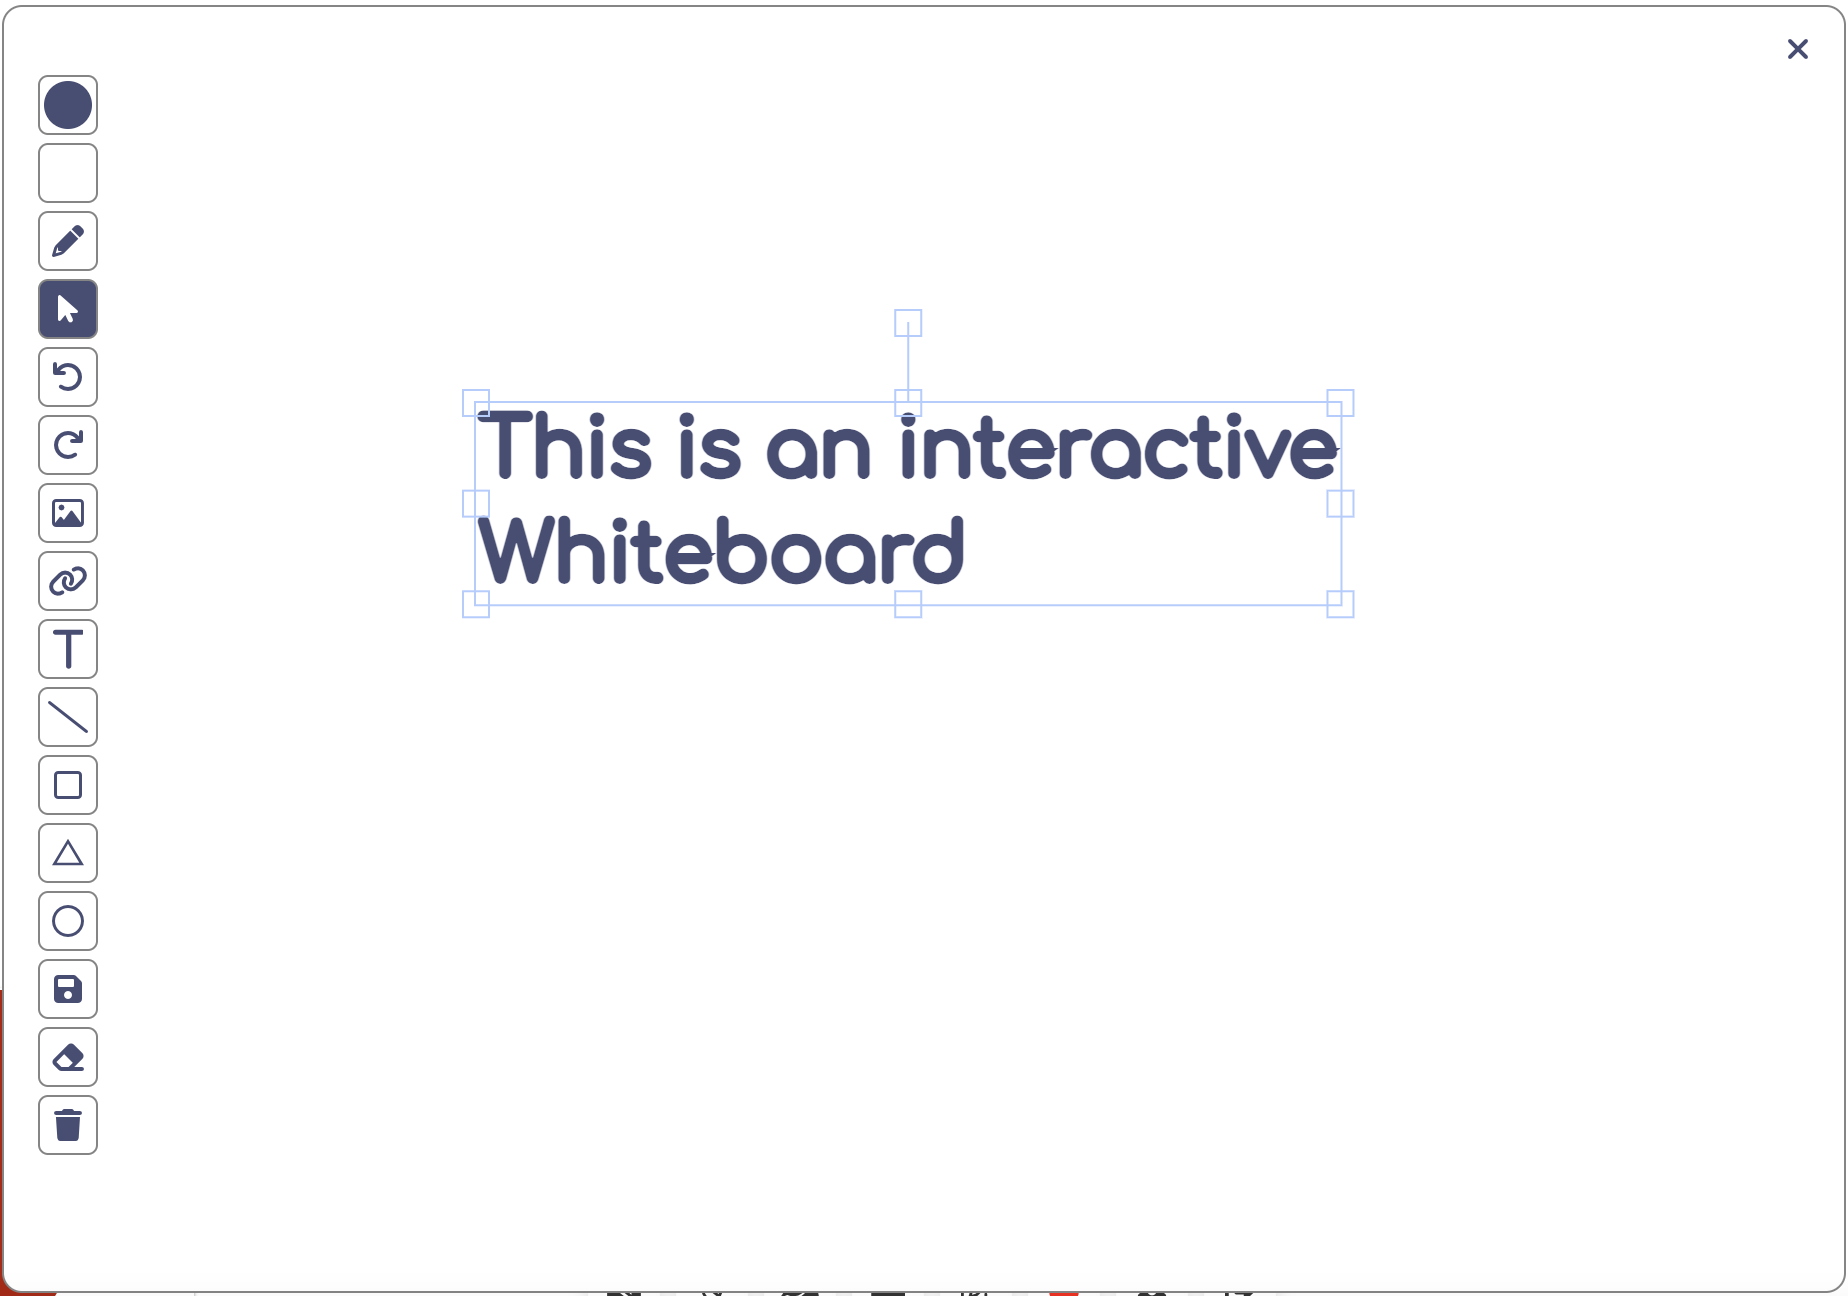
Whiteboard
Whiteboard feature allows you to show your visitors some drawings, diagrams, images or links. It is enabled by default . You can disable it from the dashboard.
It can be started from chat screen by clicking on the Whiteboard icon. You can do this while in call.
Recording
You can record your whole screen from the Settings button -> Recordings
Broadcast
There is one or more broadcaster and many viewers. This is a perfect tool for online lecturers and enterprises.
From the dashboard you can start a meeting and check “Attendees will start audio and video disabled” in the Room management section.
Dashboard panel
The admin panel has a backend information about the organizers, rooms, locales and configuration.
Check here with demo/demo.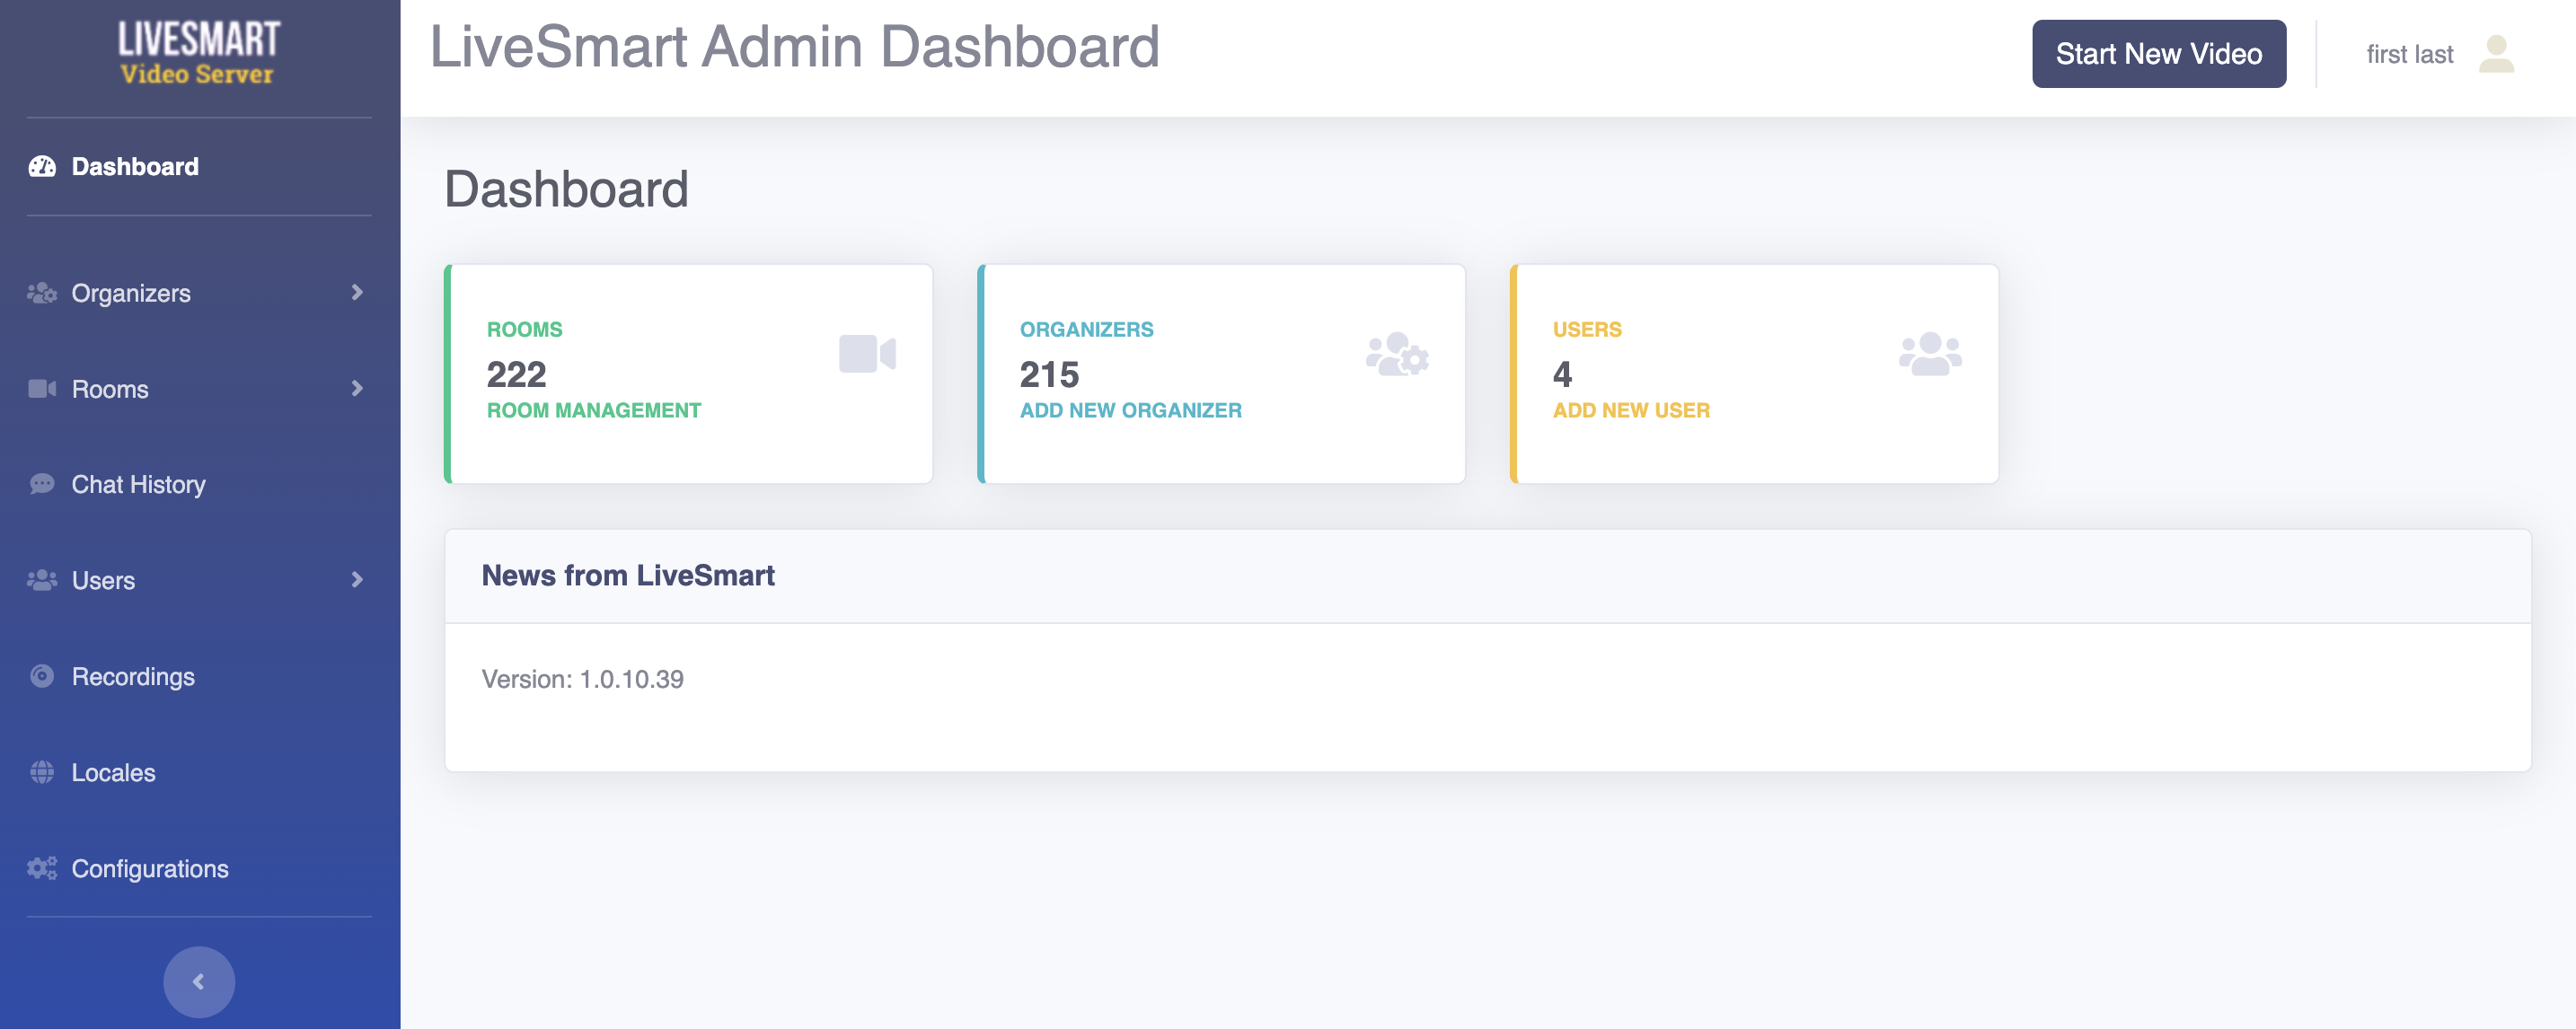
In the Page management you are able to generate custom room. You can specify a time period, duration of the meeting, visitor name, host name, room ID and if the room should be password protected. The save button is saving each generated room in a DB if available.
Private Access
You can set password protection for your meeting in two ways:
– when creating or saving a meeting room set a global password in the Room form;
– from the configuration section in the Dashboard enable Server Side -> Login Form. This will enable users to enter with their email and password and you need to define them in Users section of the Dashboard.
Localization
From the Dashboard panel you can assign and change as many as you need localizations.
Go to Locales section and in the field type the name of the locale. It can be any string helping your to identify it later – es_ES, Spanish, SP. Choose the Spanish locale from the list and fill in relevant values.
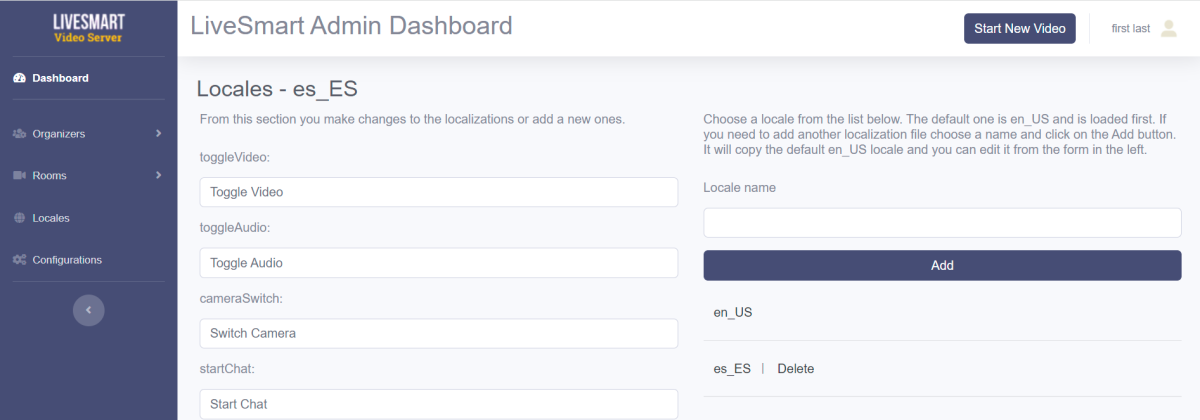
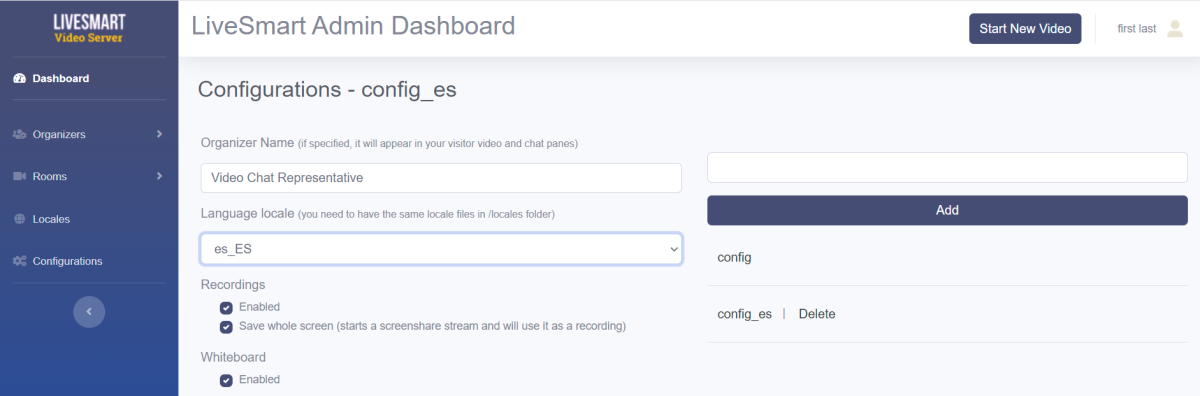
Now you need to assign a new configuration with the new locale. Go to Configuration section and add a new configuration with some name to help you identify this is for the new locale. Of course you can assign the new locale to any existing configuration.
Then from the Room management you can edit, add new or start directly a new room by assigning the configuration with the Spanish locale to it.
Speech-to-text, Text-to-speech and Translate
LSV offers the possibility to transcribe voice to text, or the speech recognition module. It can be enabled from Configuration section of your Dashboard. The default language of the speech recognition is English. All the list of available languages can be seen here.
In addition to the speech recognition, there is a possibility to translate the transcribed text. You need to have a Google API key. In this tutorial is described how to get it.
After you get the key, it needs to be set in the Configuration section in the Dashboard.
While typing a chat message your attendee will receive voice. This functionality can be combined with the translation module. For example, you speak in Spanish, your attendee will receive subtitled message and voice in English. Text to speech, together with the speech to text and the translation modules provide the ultimate facility for multilanguage video session tool.
Another option of the transcription module is to use voice commands. This can be enabled from the configuration section of Dashboard. Available commands are: ‘share room’, ‘new room’, ‘exit the room’, ‘start the audio’, ‘stop the audio’, ‘start the video’, ‘stop the video’, ‘start the screen’, ‘stop the screen’, ‘open the chat’, ‘send chat message’, ‘close the chat’, ‘open the whiteboard’, ‘close the whiteboard’, ‘start the recording’, ‘pause the recording’, ‘resume the recording’, ‘stop the recording’, ‘open the settings’, ‘close the settings’, ‘open a file’, ‘close a file’, ‘swap the camera’, ‘raise the hand’, ‘lower the hand’, ‘open email’, ‘stop the voice recognition’.
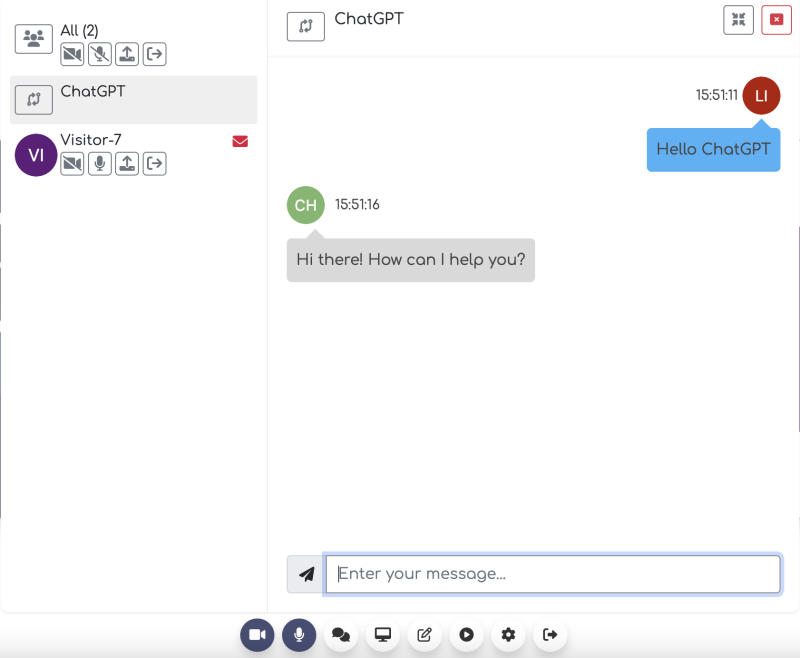
ChatGPT
One of the latest features of LiveSmart Server Video is ChatGPT. You can enable this option and can ask questions to the AI.
- Goto https://platform.openai.com/
- Create your account
- Generate your APIKey from here
- Update the key in app/src/config.js chatGPT.apiKey and set chatGPT.enabled to true
- Enable ChatGPT from the Configuration section in the Dashboard
RTMP Live Streaming (YouTube/Facebook)
LiveSmart supports server-side RTMP publishing from the meeting room directly to YouTube or Facebook.- FFmpeg must be installed on the server and available in PATH (or configured in
src/config.jsasrtmp.ffmpegPath); - RTMP must be enabled in
src/config.js(rtmp.enabled = true); - Start the meeting as host/admin and enable camera/screen + microphone before going live.
- Open YouTube Studio and go to Live Control Room;
- Copy your Stream Key from YouTube;
- In meeting controls click Start Live;
- elect platform YouTube (RTMP URL preset is filled automatically);
- Paste Stream Key and click Start
- Open Facebook Live Producer;
- Select streaming software and copy the Stream Key;
- In meeting controls click Start Live;
- Select platform Facebook (RTMP URL preset is filled automatically);
- Paste Stream Key and click Start.
- Stream keys are sensitive credentials; do not share them publicly;
- If streaming fails, verify FFmpeg installation, stream key validity, and outbound firewall/network access to RTMP endpoints;
- Use Stop Live in meeting controls to end publishing.
Status Button
The contact button is the way your customers can request a video call. It is also a presence indicator showing if you are online.
Add the following code snippet to your site, so you are able to track and communicate with your visitors:
<div id="nd-widget-container" class="nd-widget-container"></div>
<script id="newdev-embed-script" data-message="Start Video Chat" data-source_path="YOUR_DOMAIN" src="YOUR_DOMAIN/js/widget.js" async></script>
The script accepts some data attributes, so you can personalize it:
| Data attribute | Description |
|---|---|
| data-source_path (*) | The website your button resides. It should be HTTPS |
| data-button_css | The CSS of the button itself. The default style is located at /css/button.css. There are six prefefined styles that are listed below |
| data-message | The label on the button. Default is “Start Video Chat” |
| data-host_name | Names of the organizer. This option can be also defined in the config.json file |
| data-visitor_name | Visitor name can be set with this parameter. Used when the button is for a specific predefined user. |
| data-tenant | Defining specific organizer scope that only organizer with the same ID in the organizer dashboard will be notified of client presence. |
| data-config | Define a config file for the meeting. It needs to be present in /config folder of LiveSmart. Otherwise it will fallback to the default configurations; |
| data-iframe_id | ID of target iframe. If you want the video window to open in an iframe and not in popup. Make sure the “allow” attribute with values “camera, microphone” is included; |
| data-intab | If this is set to true, the video window will open in a new tab, not in popup window. |
| data-offline_email | Contact email when you are not available and the button is offline. By clicking on the button a contact form will open and the visitor can add his inquiry there. |
| data-offline_page | URL of the contact page. If set, when the visitor clicks on the offline button, he will be redirected to the specified contact page. |
| data-datetime | Datetime added in the format YYYY-MM-DDThh:mm:00.000Z in UTC. |
| data-duration | Duration of the meeting in minutes. |
| data-disablevideo | Option to disable video for the meeting. |
| data-disableaudio | Option to disable audio for the meeting. |
| * | Mandatory data attribute |
Predefined button styling
| CSS File | Button |
|---|---|
| button_green.css | 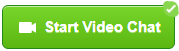 |
| button_blue.css | 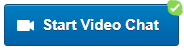 |
| button_gray.css | 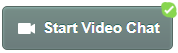 |
| button_lightgray.css |  |
| button_lightred.css |  |
| button_orange.css |  |