Meeting Room
LiveSmart Video Chat main facility is a video chat between an organizer and one or more attendees. The organizer role can be performed by tutor, doctor, support personnel, real estate agent, car reseller, registered user in a social media, etc
In order a call to be performed, both parties need to be online in one room. You can generate rooms for your customers in a couple of ways:
– Add a code snippet to your browser pages, so a contact button appears and informs your visitors that you are online;
– Generate a room from the Dashboard page. You can add room ID, visitor name (if you are expecting someone to come), password if you want this room to be protected and organizer name;
– Make the link to be dynamically generated by your system;
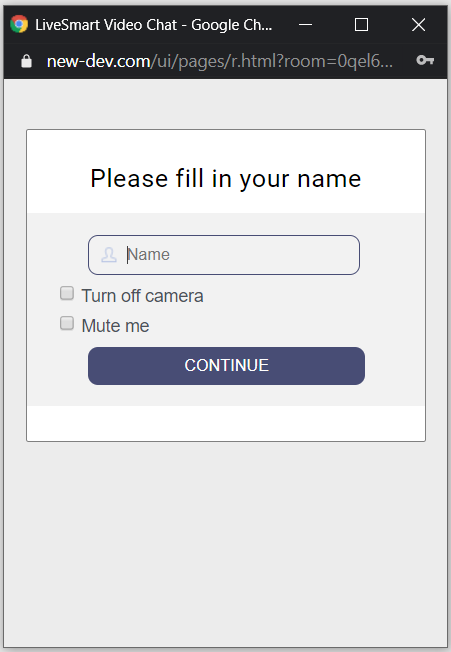
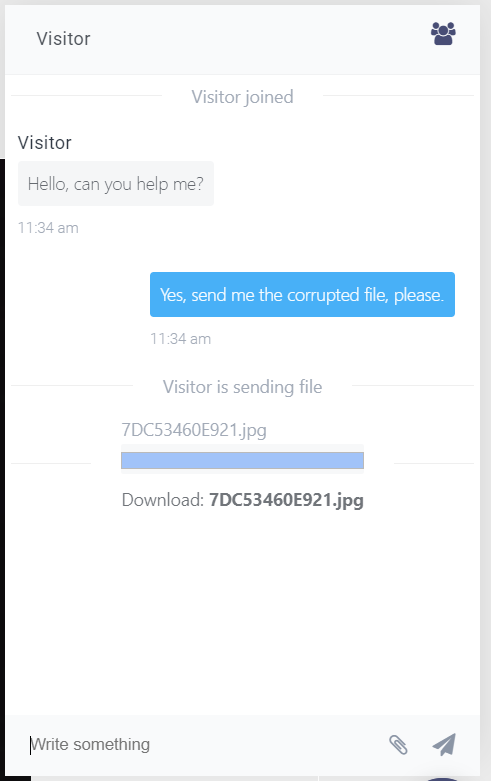
When both parties are available, visitor will either be prompted for name/email/password (it depends on the configuration) or directly joined to the room.
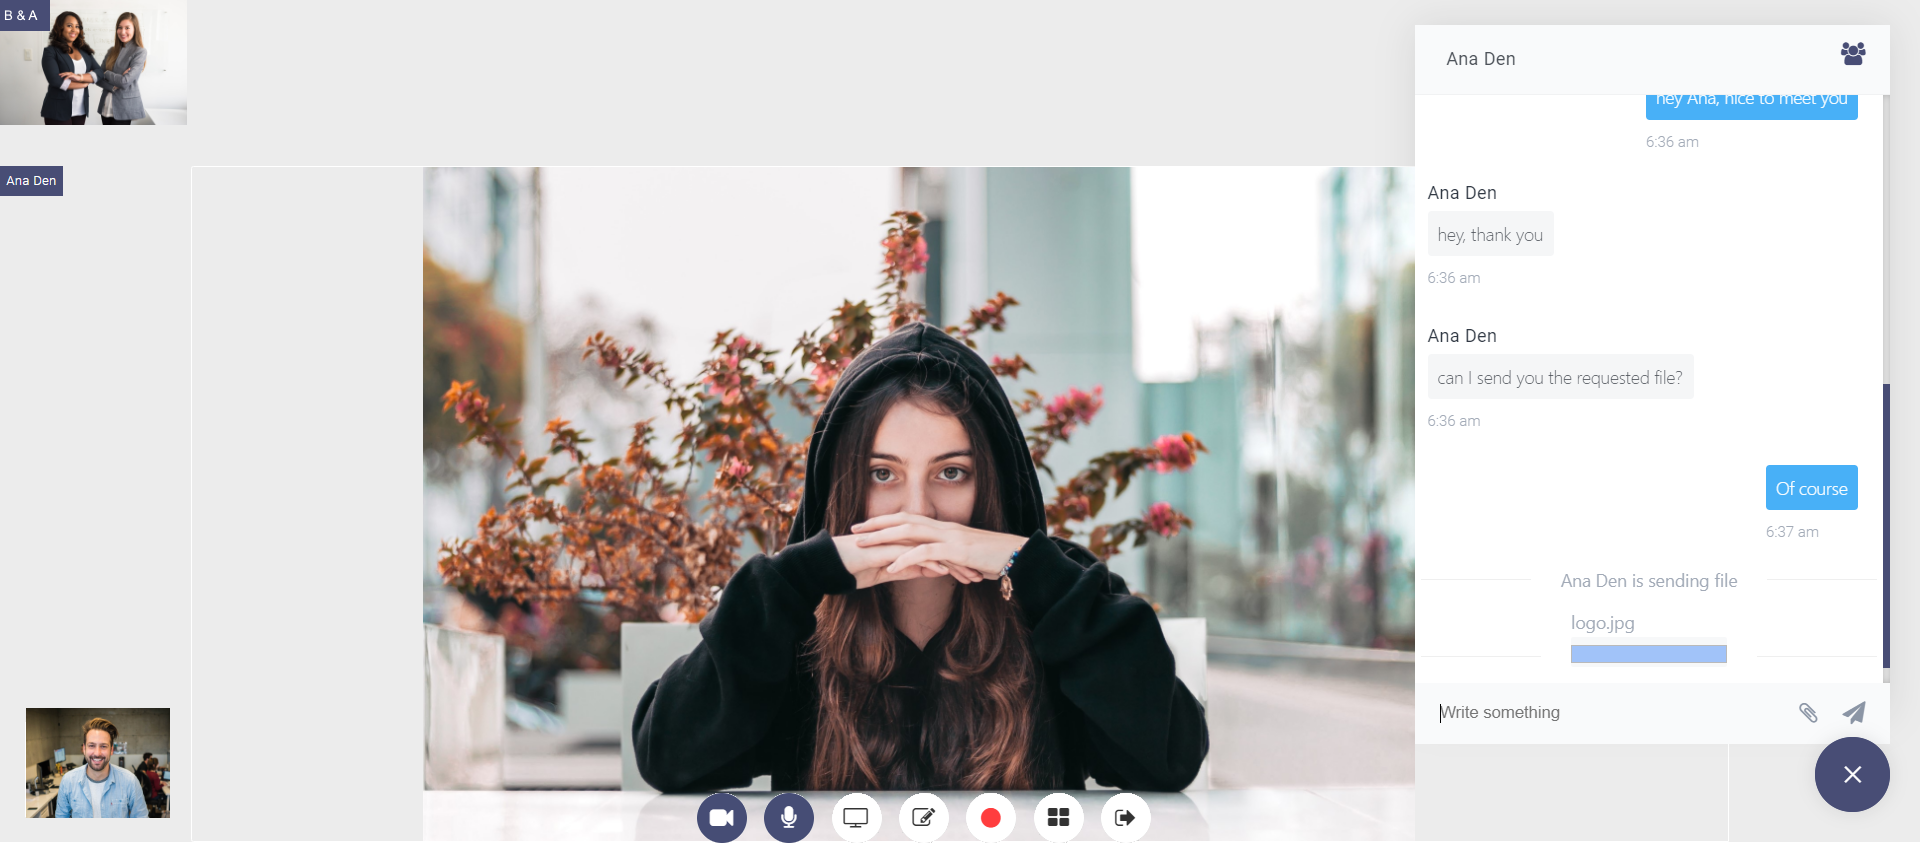
From here he can start chatting, toggle video or audio, transfer a file, do a screen share or take a snapshot* of the other party video screen.
From the organizer side, there is an additional icon for starting a whiteboard session*:

* This setting needs to be enabled in the configuration file. Whiteboard is also available for visitors as a configuration. For more details see the Whiteboard section
Contact Button
The contact button is the way your customers can request a video call or a simple chat session. It is also a presence indicator showing if you are online. You can check the detailed instructions on how to set a button in your site here.
Visitor Link
Another way to contact someone is to send him a visitor link. It can be generated from the Organizer page and can contain different information.
Video/Audio Calls
LiveSmart Video chat provides two modes for the video chat session. The default is “conference” mode, and is enabled in the config/config.json file with videoScreen.videoContainerStyle: "conference". Meeting style is organized like a Zoom session.
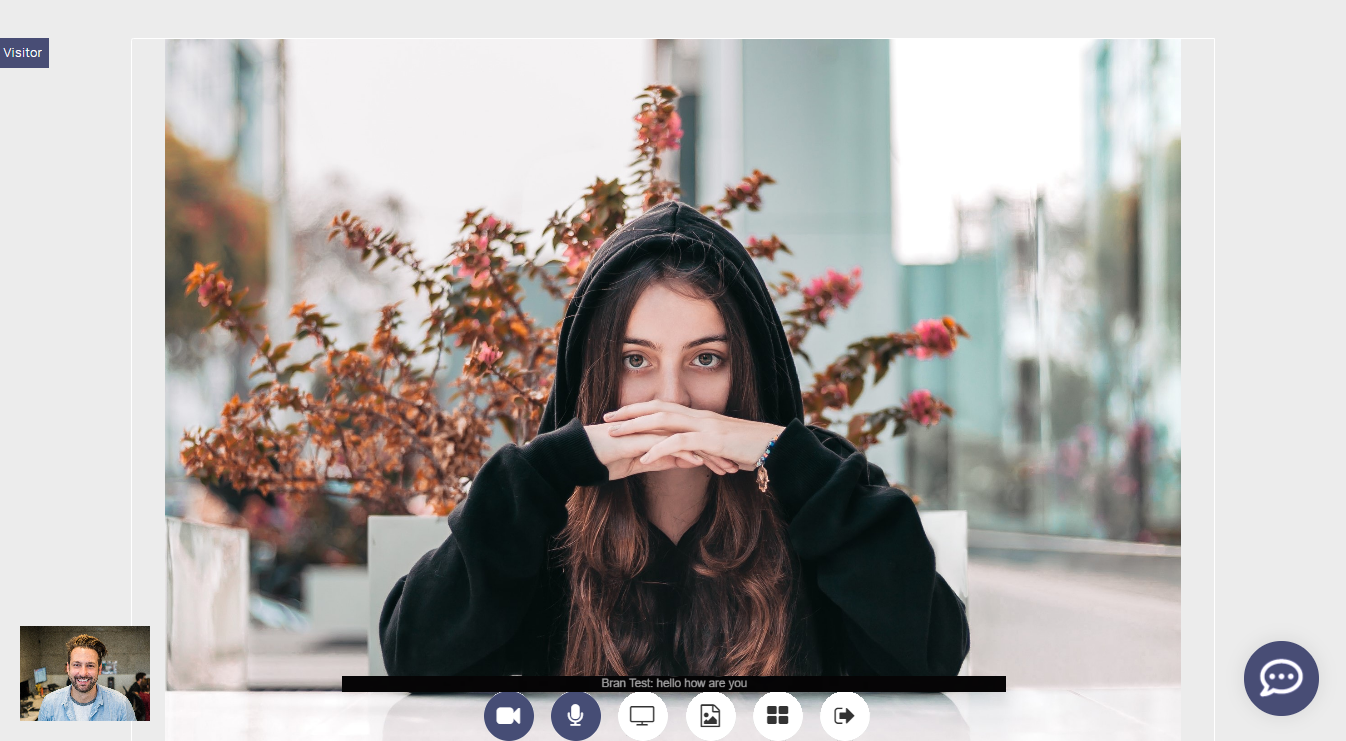
Conference mode
After an attendee joins to the room, he will directly start a video/audio call. He can beforehand turn off camera or microphone.
When the call is established the initiator can mute/unmute audio, start/stop camera and start a screenshare session. If recording is enabled, he can record the meeting.
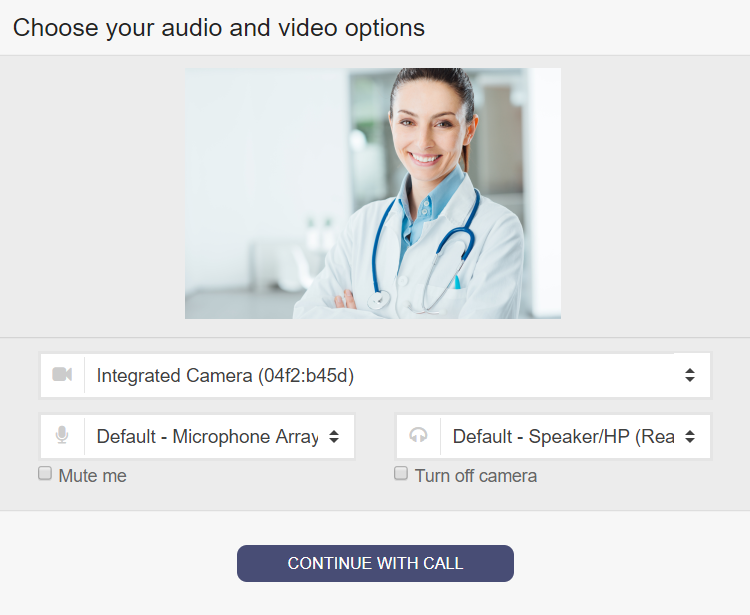
You can enable pre-call form, so your visitor can adjust their video/audio devices, you can set videoScreen.greenRoom to true.
Chat options. In the chat pane, the user is informed about joining/leaving attendees, incoming file transfers and other system messages.
Simple mode
The simple mode is enabled in the config/config.json file with videoScreen.videoContainerStyle: "simple". This is the classic LiveSmart meeting style, where
the attendees are in the chat pane and to start video or audio only call need to click the relevant button. Please have in mind this mode is deprecated and is not supported.
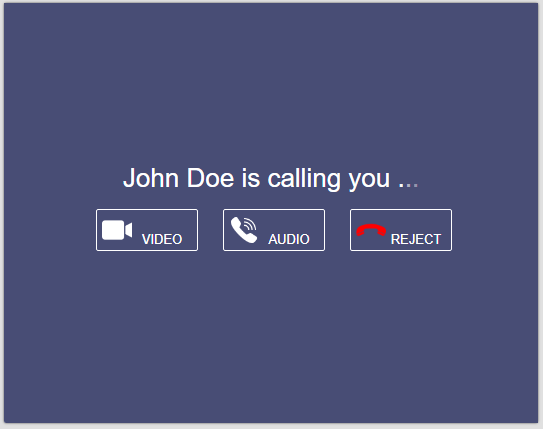
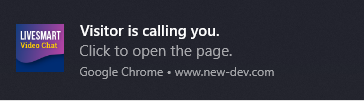
The other party will see incoming call notification:
Or if you have enabled the chat view so it is always visible in video, whitboard and broadcasting:
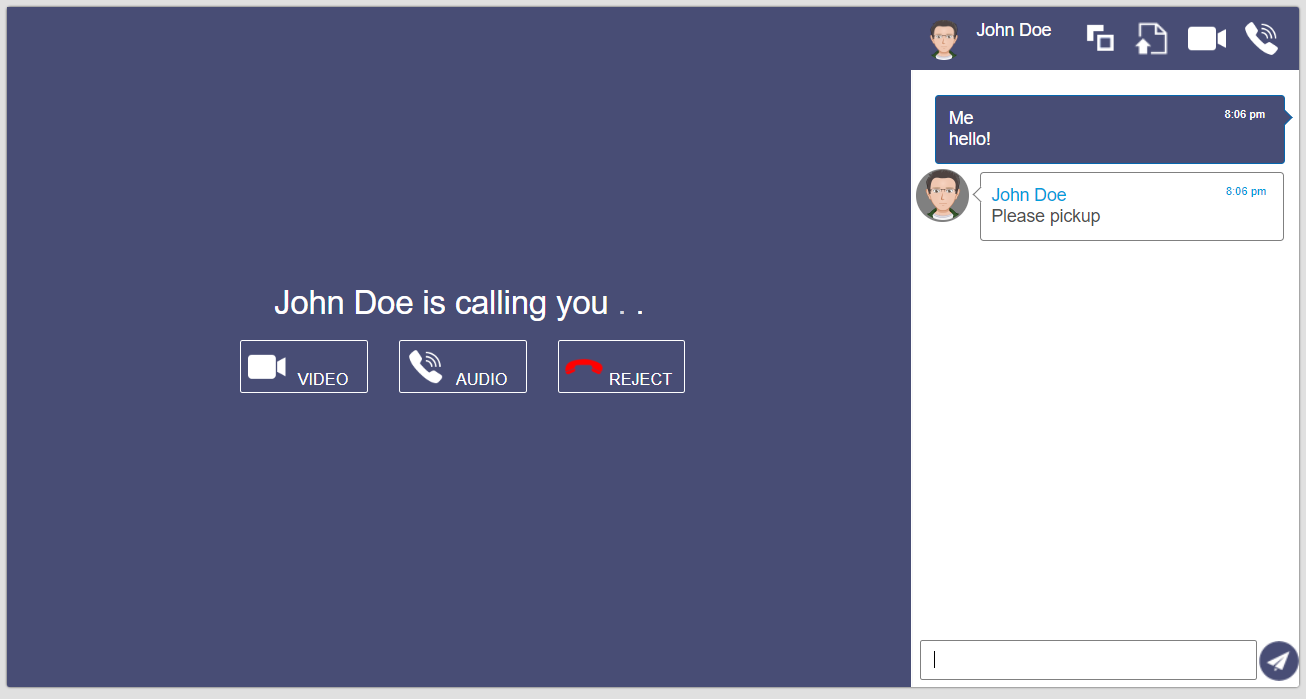
and too can accept the call with video or audio only. When the call is established an user can mute/unmute audio, start/stop camera and start a screenshare session. If recording is enabled, he can record the meeting.

Screen Sharing
You are able to share the whole screen, separate application or a browser tab if your browser is Chrome 72+, Firefox 52+ or MS Edge 17+. Older Chrome browsers are prompted to use a plugin. Screensharing session can start from the chat or in-call screen:
Whiteboard
Whiteboard feature allows you to show your visitors some drawings, diagrams, images and PDF files. It needs to be enabled from the config file. Also anonymous mode is allowed where visitors can take part.
It can be started from chat screen by clicking on the Whiteboard icon. You can do this while in call.

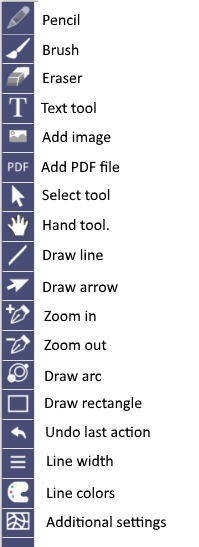
Allowed whiteboard actions:
Recording
You can record your video or audio only call. It should be enabled from the config file. There are several options:
– download – when the recording finishes, the recorded file is directly downloaded. Otherwise a link to the file is prompted;
– saveServer – if is set to true, the files are saved in a folder in the backend (/server/recordings);
– autoStart – if is set to true, the recording is automatically started when the call is established;
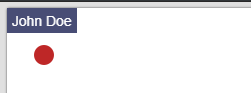
There is a recording indicator in the attendee side:
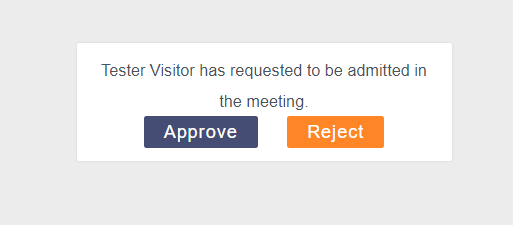
Admission room
If this option is enabled from the Configuration, upon entering a meeting the visitor needs to be admit by the host.
Broadcast
There is one or more broadcaster and many viewers. This is a perfect tool for online lecturers and enterprises.
From admin dashboard you can generate links for the broadcaster – it will open in new tab and the viewer link will be stored in the clipboard.
There can be more than one broadcaster – just use the broadcast URL from another device.
If you save a short URL, the broadcaster link is automatically saved too, with “b” letter added at the end. If you have saved organizer URL as agenturl, the broadcaster URL will be agenturlb.
Check here with demo/demo how you can generate broadcasting URL.
Speech-to-text, Text-to-speech and Translate
LSV offers the possibility to transcribe voice to text, or the speech recognition module. It can be enabled from Configuration section of your Dashboard. The default language of the speech recognition is English. All the list of available languages can be seen here.
In addition to the speech recognition, there is a possibility to translate the transcribed text. You need to have a Google API key. In this tutorial is described how to get it.
After you get the key, it needs to be set in transcribe.apiKey: API_KEY. The organizer language should be set in transcribe.language and the visitor in transcribe.languageTo. The last parameter transcribe.direction can have three values – both, agent or visitor. When used both, the translation goes in the two directions – from agent (organizer) to visitor and vice versa. When set to agent, the organizer speech will be translated from transcribe.language to transcribe.languageTo in the visitor screen.
If direction is visitor, then the visitor speech will be translated from transcribe.languageTo to transcribe.language in the organizer screen.
While typing a chat message your attendee will receive voice. This functionality can be combined with the translation module. For example, you speak in Spanish, your attendee will receive subtitled message and voice in English. Text to speech, together with the speech to text and the translation modules provide the ultimate facility for multilanguage video session tool.
Entry Form
You can gather information from your visitor by enabling the entry form feature. You can enable the following options:
– enabled – true/false, default is false;
– required – true/false, if set to true all fields are mandatory. Default is false;
– private – true/false, set the form to have password field. If the admin has set a pass for this room, the pass field is mandatory. Default is false;
– showEmail – true/false, show or not email field. Default is false;
– showAvatar – true/false, show or not field for inputing avatar URL. Default is false;
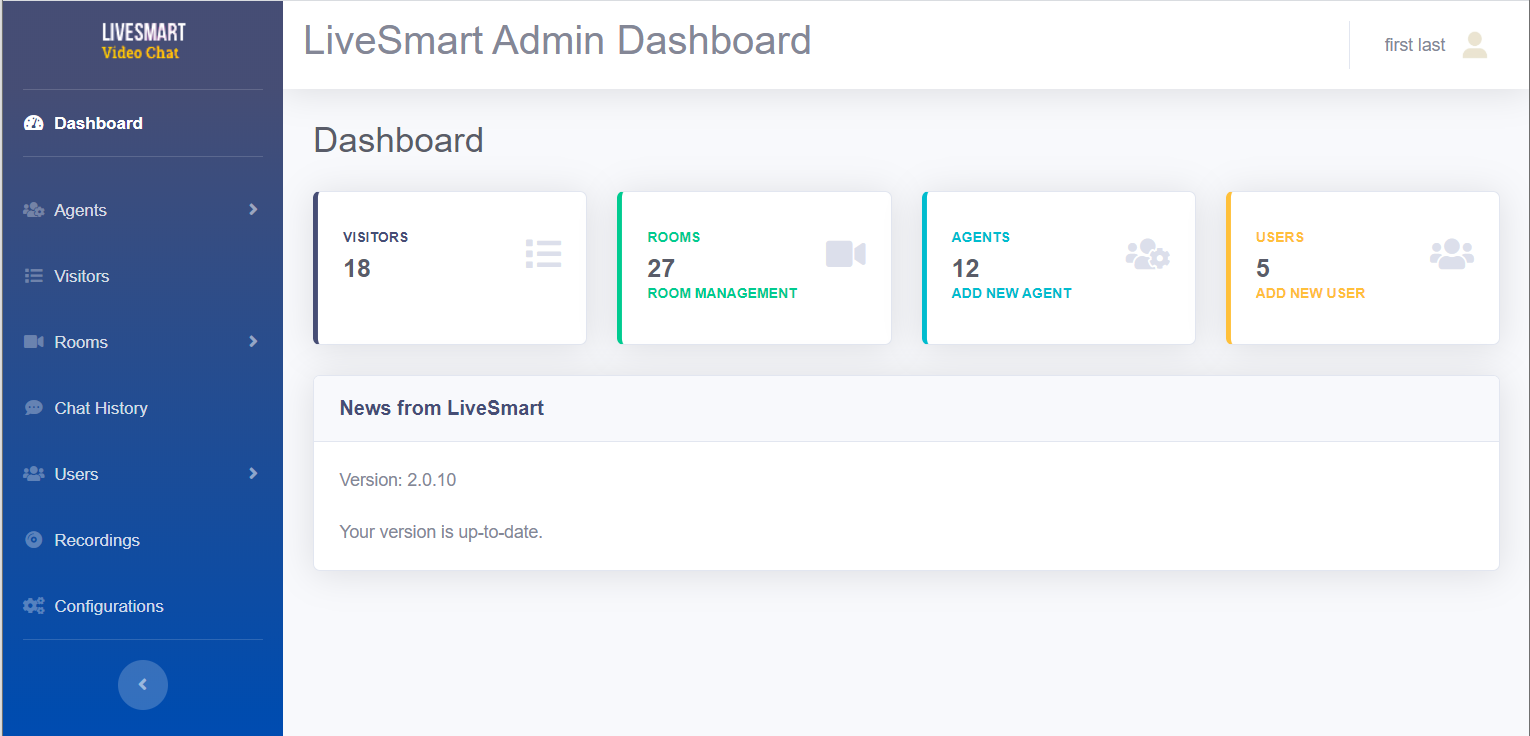
Dashboard panel
The admin panel has a backend information about the organizers, users, rooms and chat history.
Check here with demo/demo. The client page for the demo organizer is here.
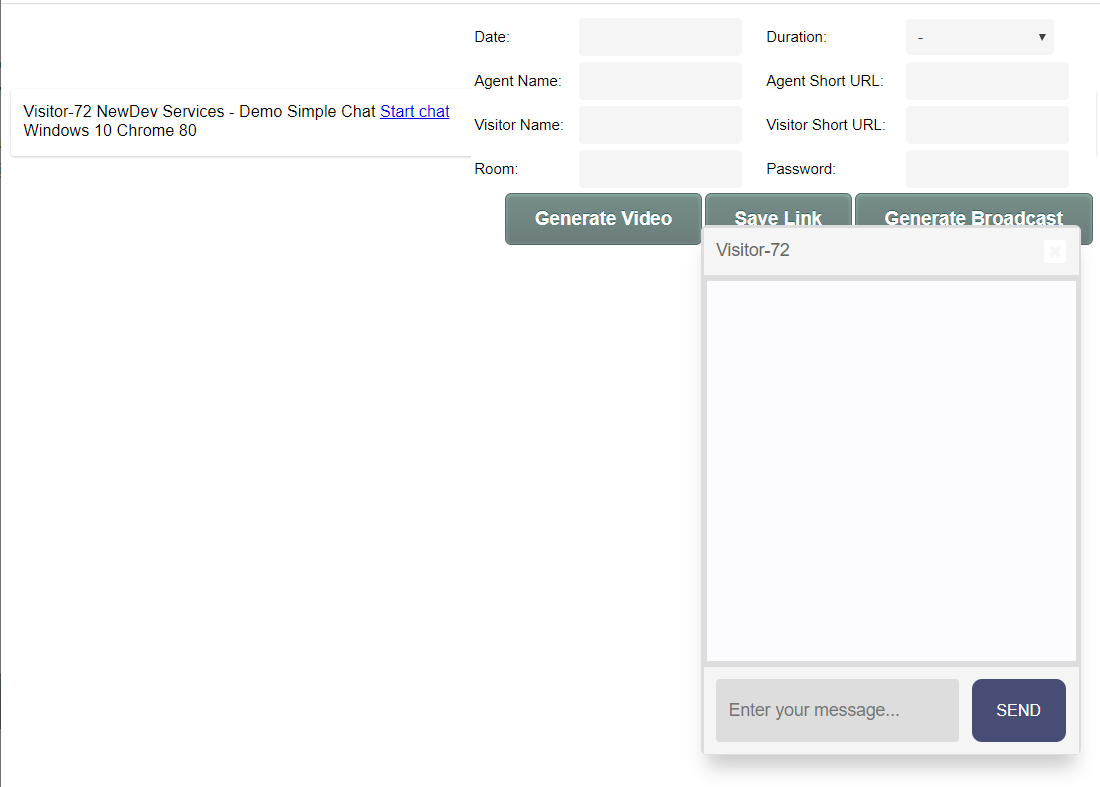
In the Visitor section you can track your site visitors and see who is requesting a session with you.
In the Page management you are able to generate custom room for a definite user. You can specify a time period, duration of the meeting, visitor name, host name, room ID and if the room should be password protected. The save button is saving each generated room in a DB if available.
You can have as much organizers as you wish and define their own organizer page, so they track visitors for a specific room.
With Visitor and Agent Short URLs you can set a readable URLs of your rooms. Here is described how to enable this feature. Thus your room may have the following URL format: https://domain.com/shortname,
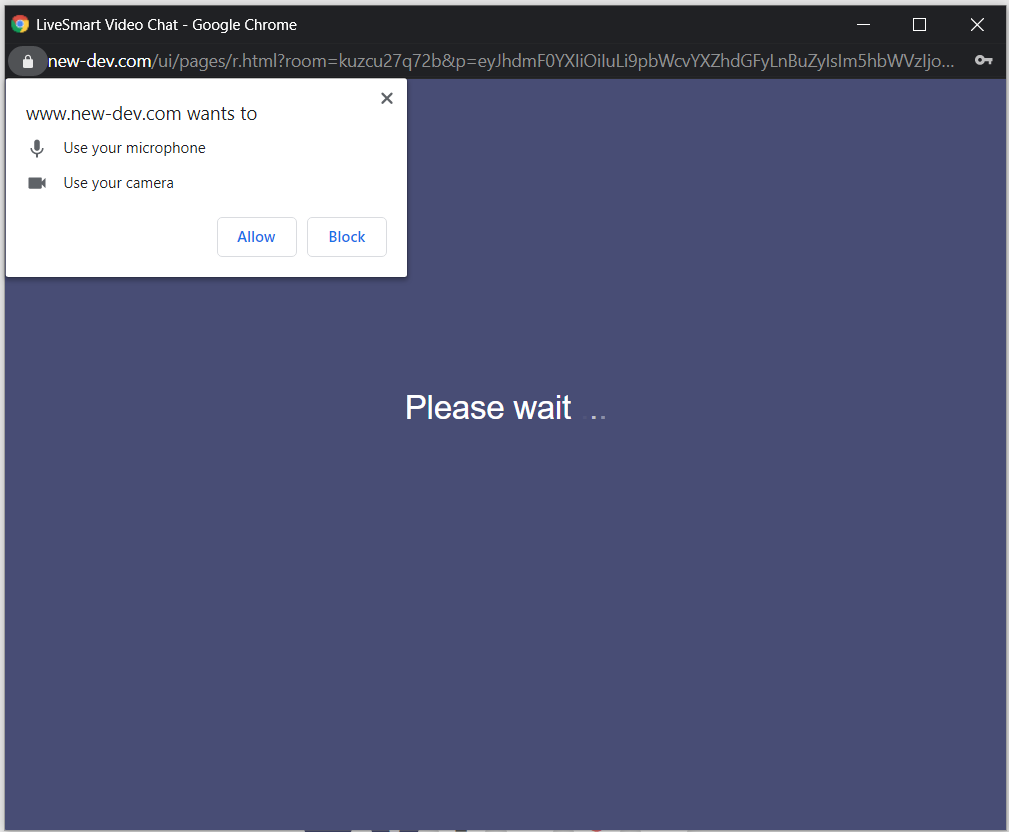
When you enter the first time the organizer page, there will be a prompt asking you for a notification permission. Granting it will guarantee you that if someone is requesting a call and you are not on the browser tab, it will inform you.
Check here with demo/demo how organizer page and relevant client page work.
Localization
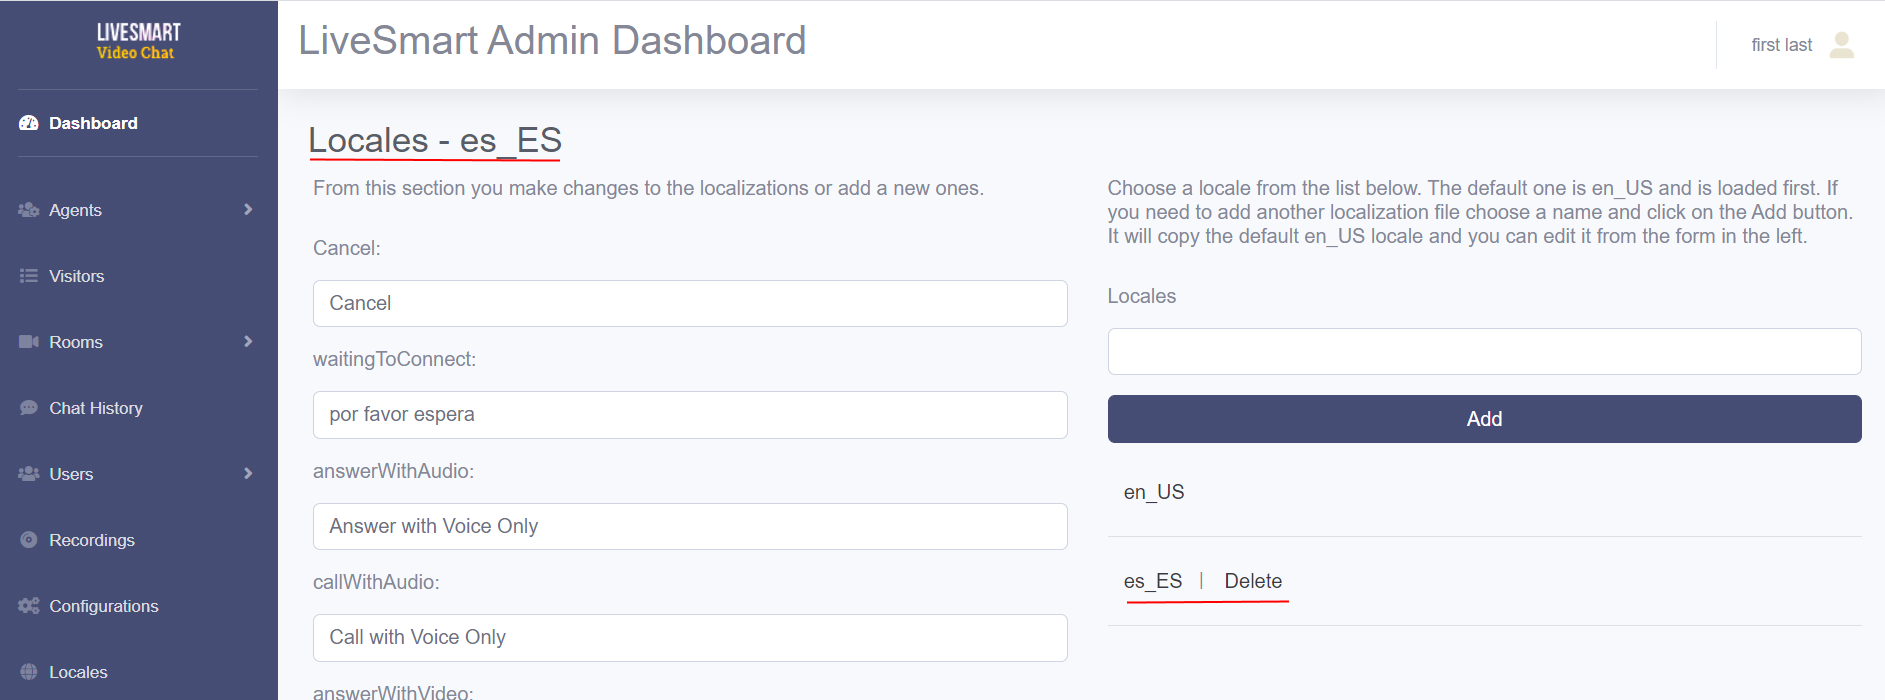
From the Dashboard panel you can assign and change as many as you need localizations. The following screenshots are depicting how you can set a Spanish locale for your LiveSmart video sessions.
Go to Locales section and in the field type the name of the locale. It can be any string helping your to identify it later – es_ES, Spanish, SP. Choose the Spanish locale from the list and fill in relevant values.
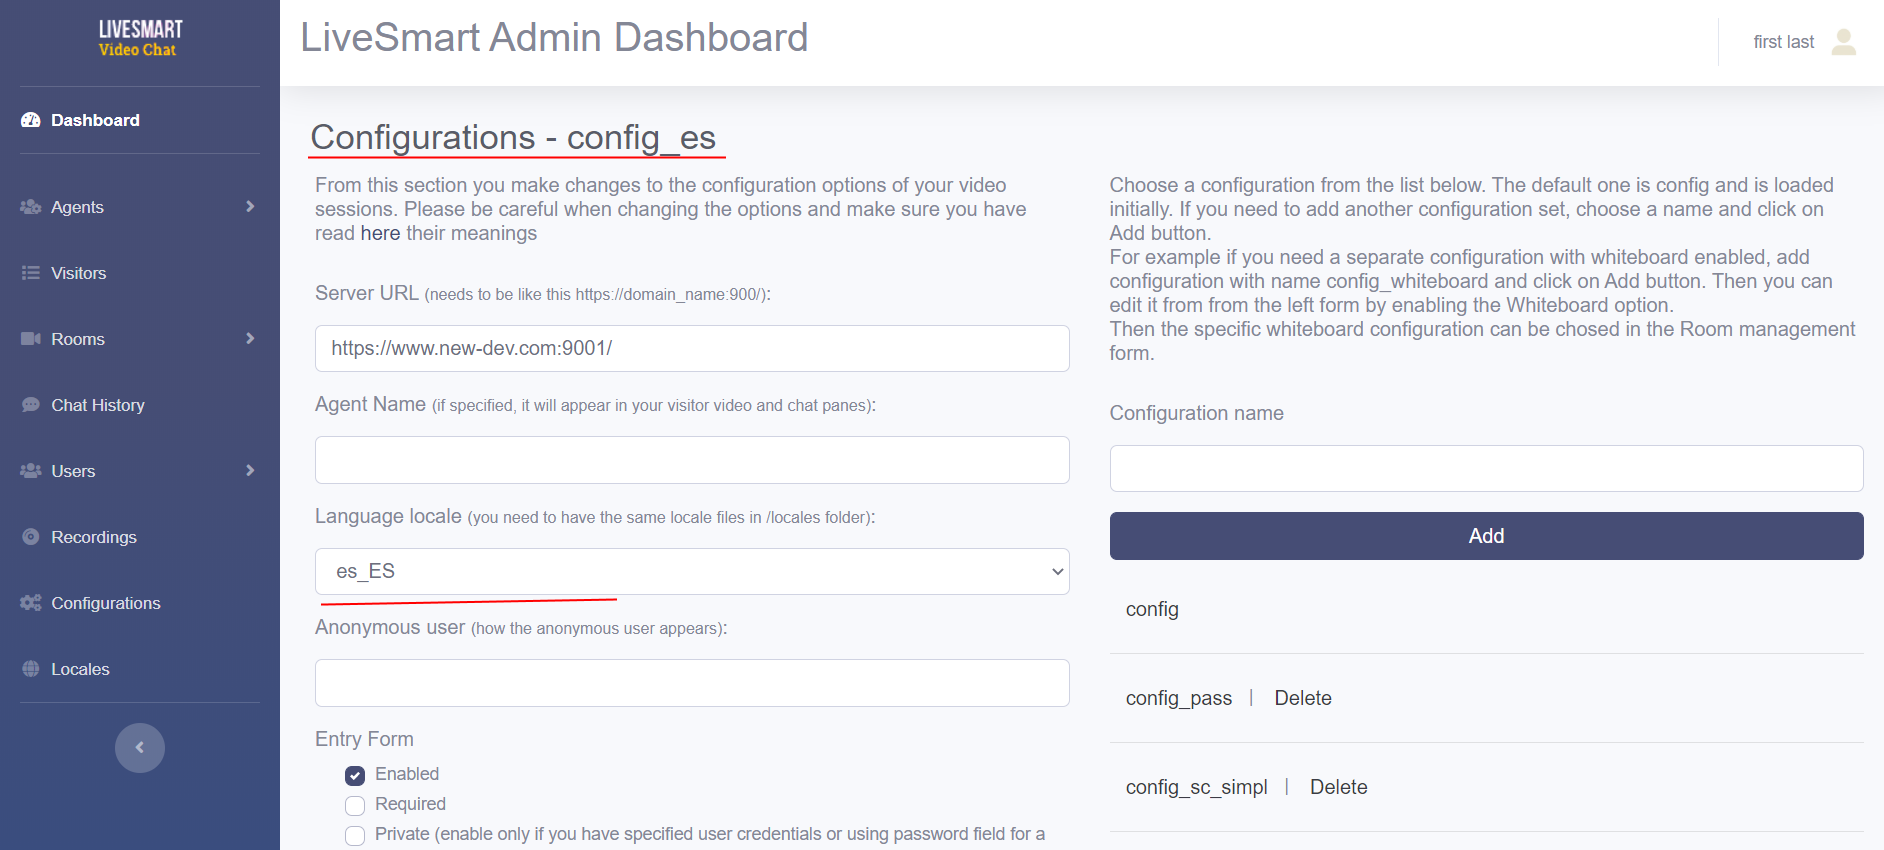
Now you need to assign a new configuration with the new locale. Go to Configuration section and add a new configuration with some name to help you identify this is for the new locale. Of course you can assign the new locale to any existing configuration.
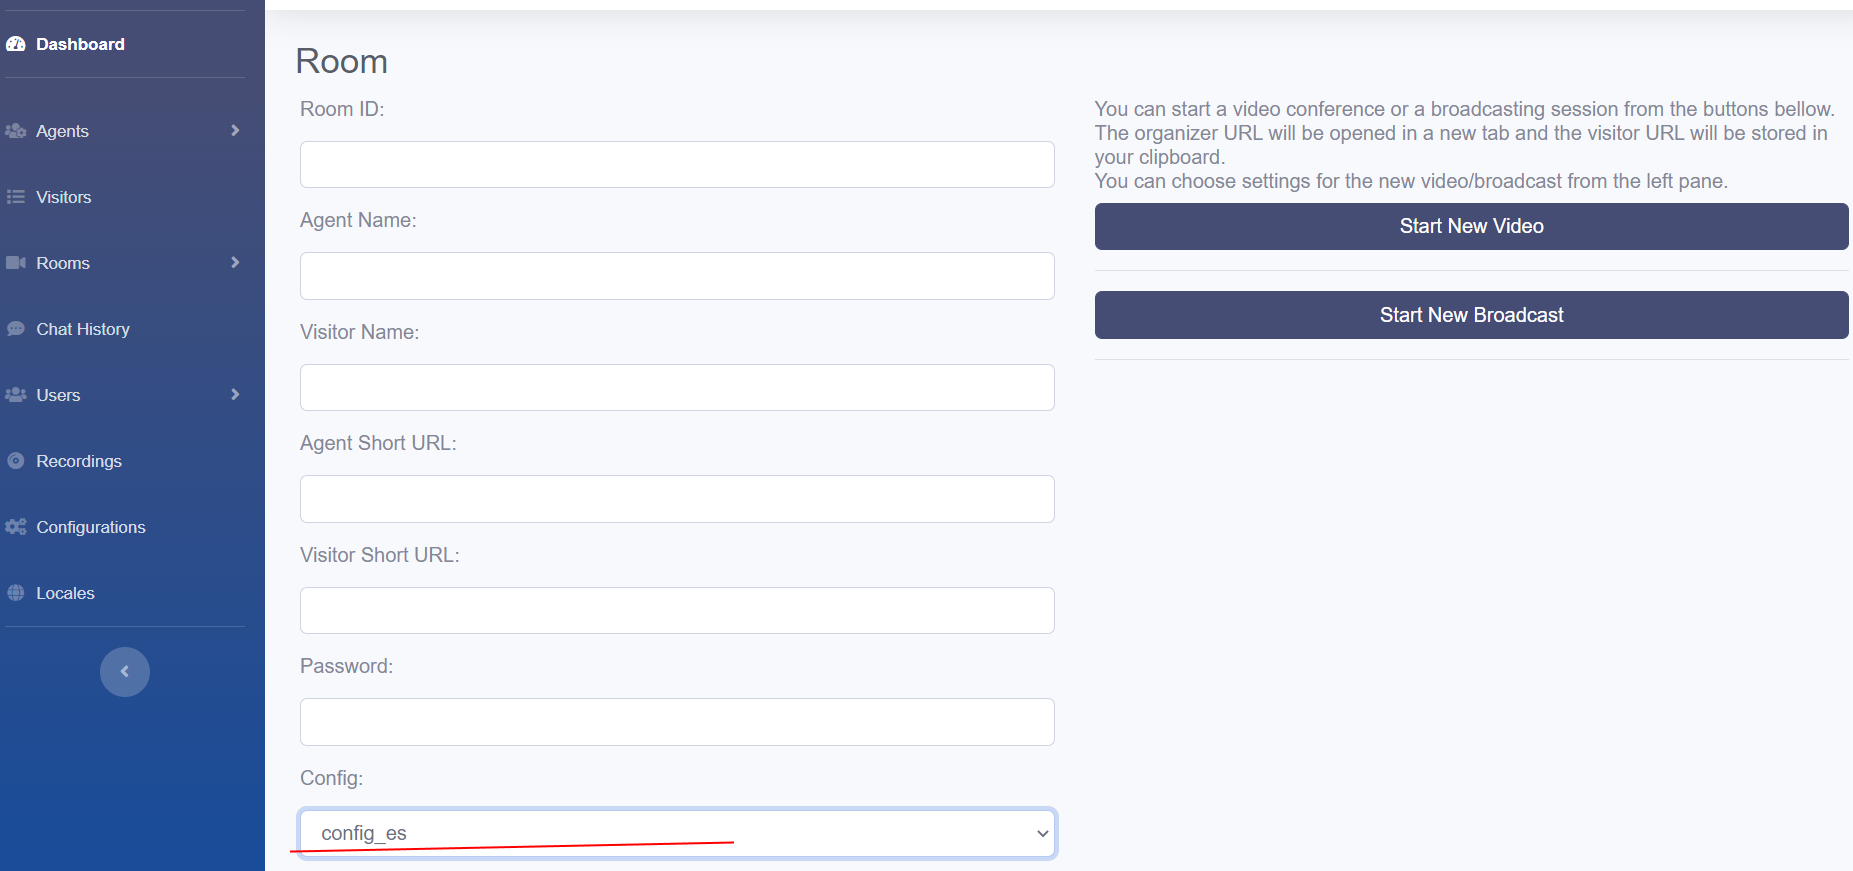
Then from the Room management you can edit, add new or start directly a new room by assigning the configuration with the Spanish locale to it.
Pro-active chat engagement
From the admin dashboard an organizer can engage visitors of the site, by starting a direct chat with them.
Here is a demo of this feature.
WordPress Plugin
You can download WordPress plugin to assist you adding the contact button to your site and preview the visitors, rooms, users and organizers.
Offline Form
When you are not available LiveSmart allows your customer to reach you in two ways:
– By sending an email. You have to add data-offline_email="YOUR CONTACT EMAIL" to the code snippet of the button. When the visitor clicks on the button, a form appears and he will be able to send you his inquiry.
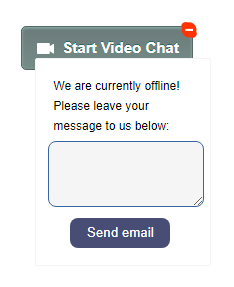
– By redirecting to your contact page. If you have a contact page, you can redirect your visitor to it, when he clicks on the button. Add data-offline_page="YOUR CONTACT PAGE" to the code snippet of the button.
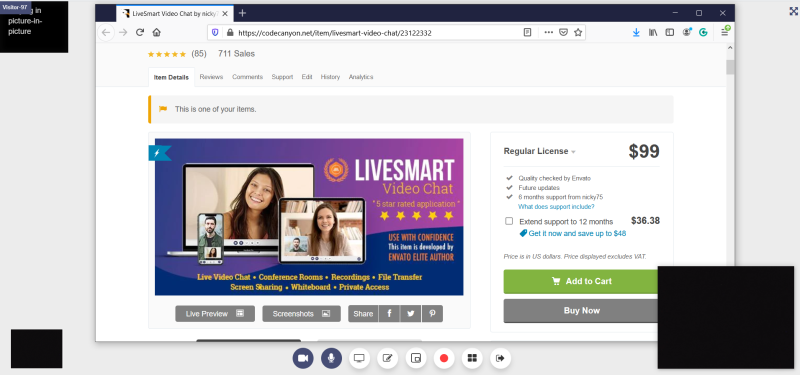
Picture in Picture
Picture in picture (PiP) allows your attendee video to be in a floating window while you are on another tab or application. The feature is enabled from the Configuration options of the Dashboard panel.
Virtual Background
You can blur your background or add your own. In the Dashboard in Configuration section you can choose to enable Blur and/or Backgrounds. The following options will appear in your video panel:
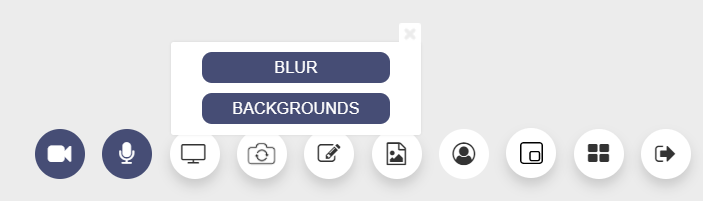
If you have enabled Backgrounds, the system will read images in img/virtual folder. Default ones are visible here:
RESTful API
You can use the REST API of LiveSmart, where you can manage your organizers, users, rooms, recordings, logins. Here is a complete documentation guide. You can also secure the API by providing API secret and API method (SHA1, SHA256, etc.) of encryption in the server/connect.php file. If those are set, you can send the API call
with Authorization header of string, containing hash hmac value (API method, all the post fields in JSON format, API secret).
For example with SHA1, secret KEY MRgKUHckYK08A9nI and POST values for getting rooms in JSON format {“type”:”getrooms”}, Authorization header should be 468f787d427de9f2f6ee67766d263c3ed7e6994a.
Possible Usage Scenarios
1. Support, online sales, video consultations, real estate and car resellers
The communication can be over the contact button on the site or by generating visitor URL from the organizer dashboard.
This can include video, screenshare and recording enabled. Chat can be set to be visible in the right pane. If you want a feedback system, and you have PHP/MySQL updated and latest SQL dump files are executed, serverSide.feedback can be set. Chat history also can be enabled.
The responsive design allows communication between an organizer that is in the field and a customer from his desktop. The switch between front and back camera is very useful, when you want to show the visitor something specific
Configuration options:
entryForm – all fasle
recording.enabled: true
videoScreen.chat: true
serverSide.feedback: true
serverSide.chatHistory: true
2. Social media
The communication can be over contact button or with shared short URL, generated from the admin dashboard. Server side login for visitors can be enabled with PHP and MySQL.
Configuration options:
entryForm.enabled: true
entryForm.required: true
entryForm.showEmail: true
entryForm.showAvatar: true
serverSide.loginForm: true
serverSide.chatHistory: true
3. Educational, online lessons, tutorials, video streaming
Short URLs of broadcasting session can be shared or acquired from the tutor site. Video broadcasting can be behind username and password, with tokens or anonymous. Here the participants can raise hands so presenter can grant them privileges to speak. Whiteboard can be enabled here. As there are different type of streamings – video, screenshare, whiteboard, the recording can be set to record everything
Configuration options:
videoScreen.chat: true
serverSide.feedback: true
serverSide.chatHistory: true
serverSide.token: true #Only if you have enabled the token system in rooms, organizers and users.
whiteboard.enabled: true
recording.screen: true
4. Health-care consultations
Here the organizers are the health-care coordinators who can schedule meetings for the patients for a definite time period and save them. Here the scheduling can be used, so a patient can come on a definite timeframe. The communication can be done over predefined saved rooms from the admin panel. Green room and waiting room options can be set. Entry form and feedback system are also preferable.
entryForm.enabled: true
entryForm.required: true
serverSide.chatHistory: true
serverSide.agentInfo: true
serverSide.feedback: true
serverSide.roomInfo: true
videoScreen.chat: true
videoScreen.greenRoom: true
videoScreen.waitingRoom: true